หลังจากสร้าง image disc สำหรับ raspberry pi โดยใช้ Raspberry Pi Imager เรียบร้อยแล้ว (link)
ให้ทำการ boot raspi เข้า Desktop และเปิด terminal
ตรวจสอบเวอร์ชันของ raspi
uname -a
สังเกตเวอร์ชันของ pi เป็น “armv7l GNU/Linux”
ติดตั้ง dependencies
sudo apt install libopenblas-dev libblas-dev m4 cmake cython python3-dev python3-yaml python3-setuptoolsจากนั้น set env-var สำหรับการ build pytorch ดังนี้
export NO_CUDA=1
export NO_DISTRIBUTED=1
export NO_MKLDNN=1
export BUILD_TEST=0
export MAX_JOBS=4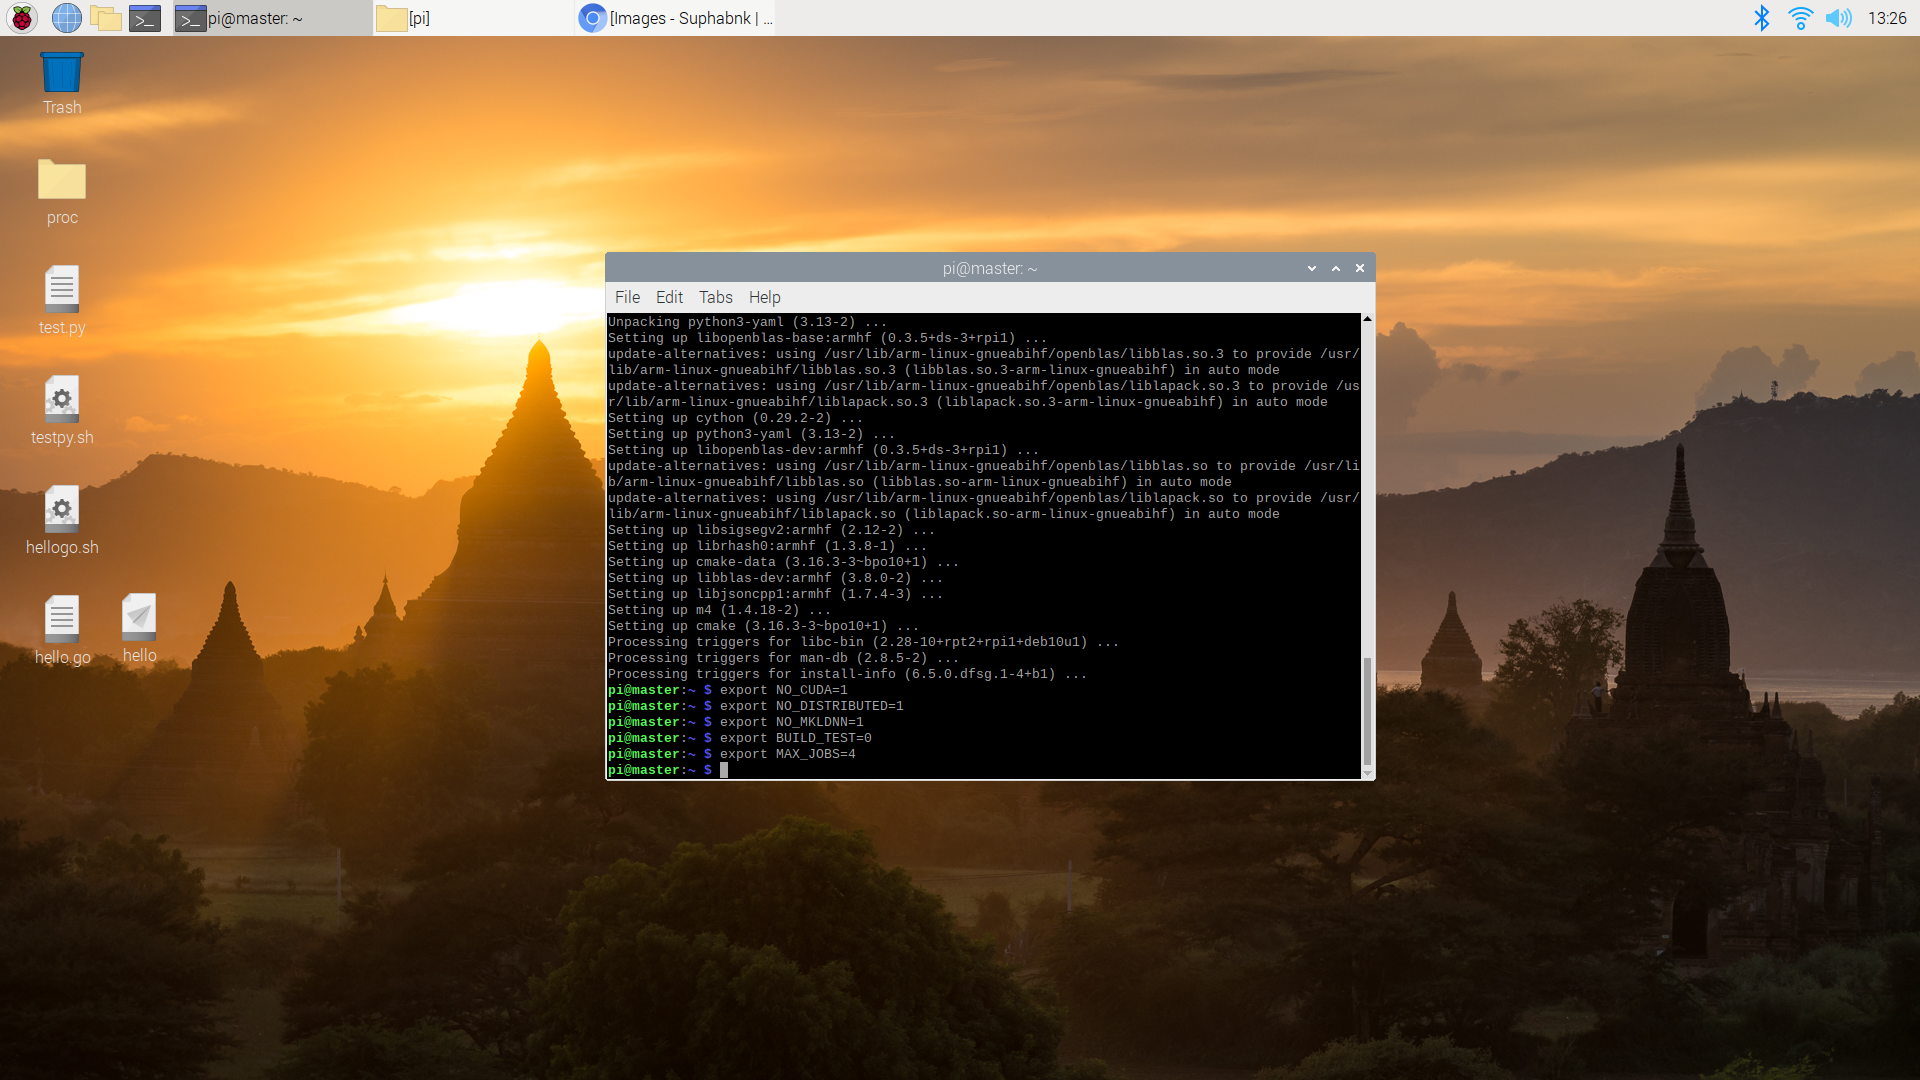
Compile pytorch จาก github src
git clone --branch v1.7.0 https://github.com/pytorch/pytorch pytorch
cd pytorch
git submodule update --init --recursive
python3 ./setup.py bdist_wheel  #ใช้เวลา build ~120 นาที
file *.whl จะถูกสร้างไปที่ ./dist/
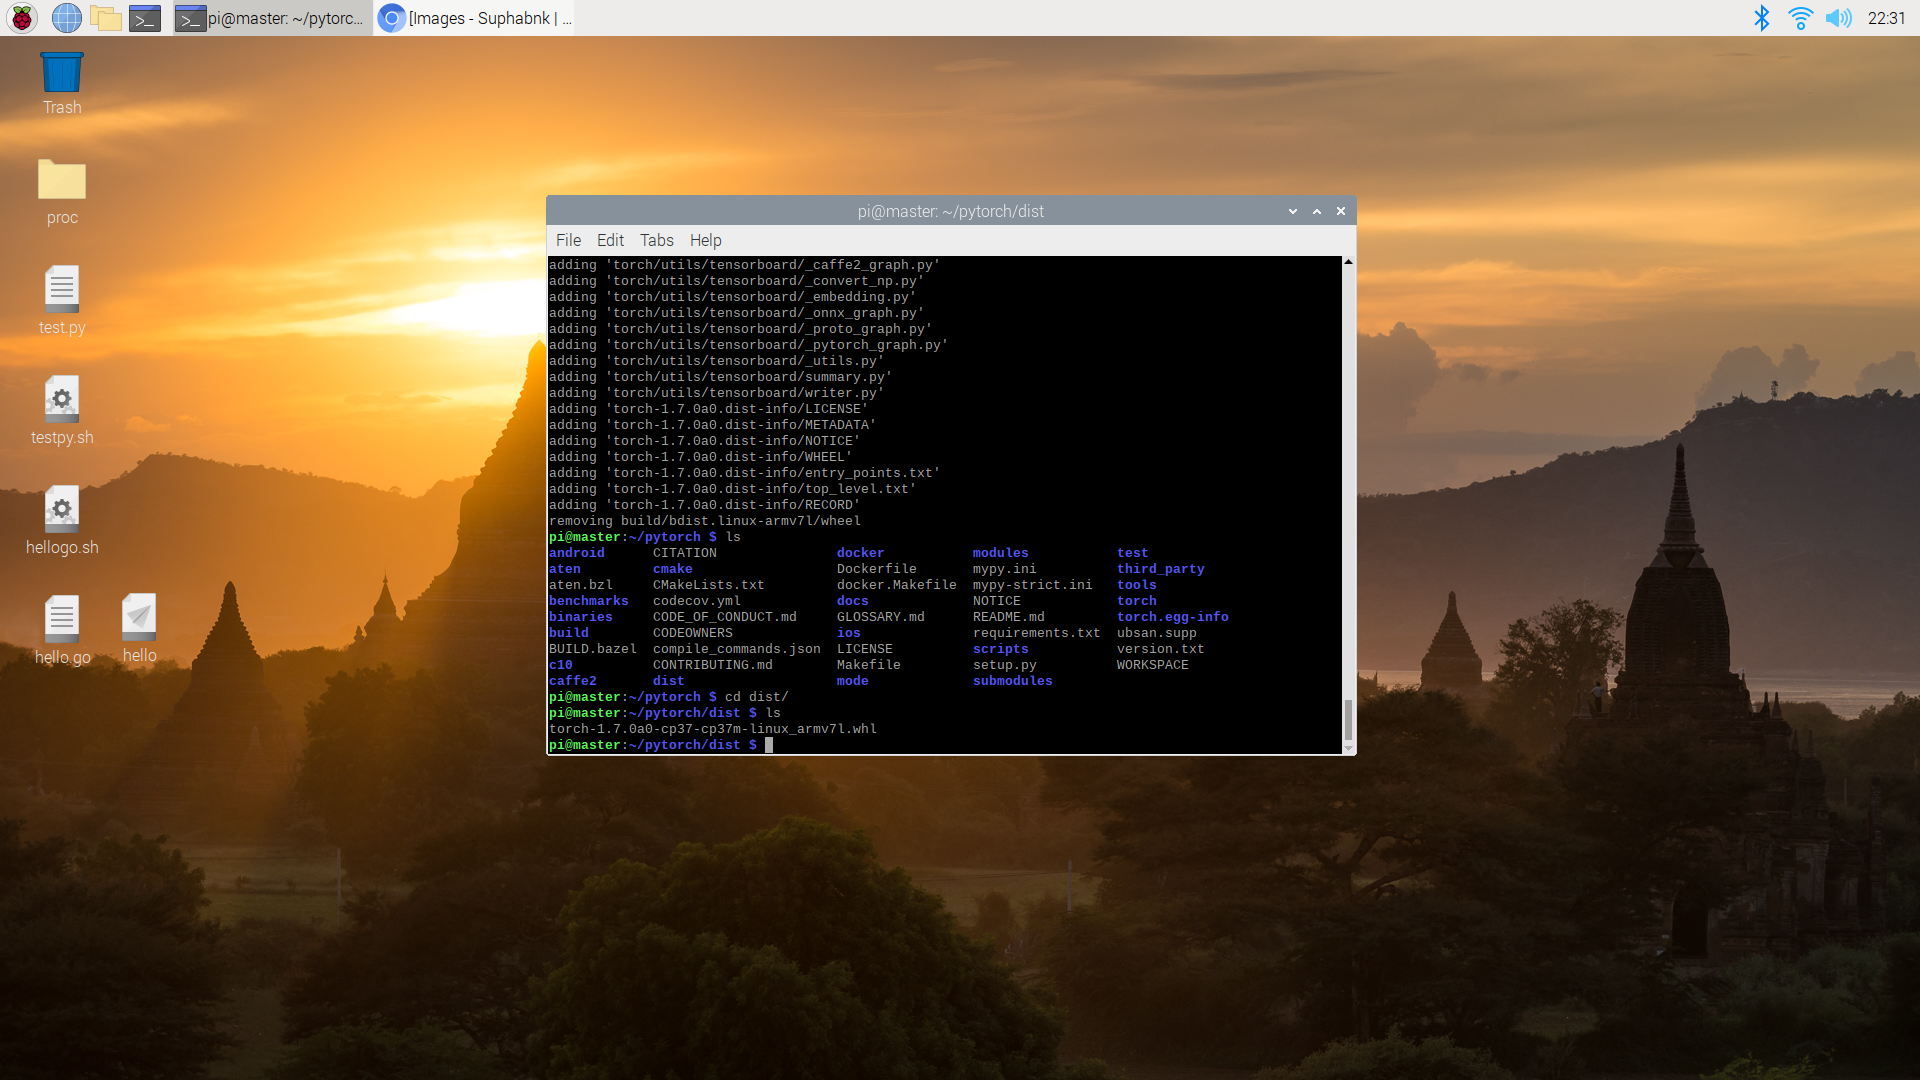
ติดตั้ง PyTorch
cd dist/
pip3 install Cython numpy torch-1.7.0a0-cp37-cp37m-linux_armv7l.whl
ทดสอบการติดตั้ง PyTorch ว่าสามารถใช้งานได้
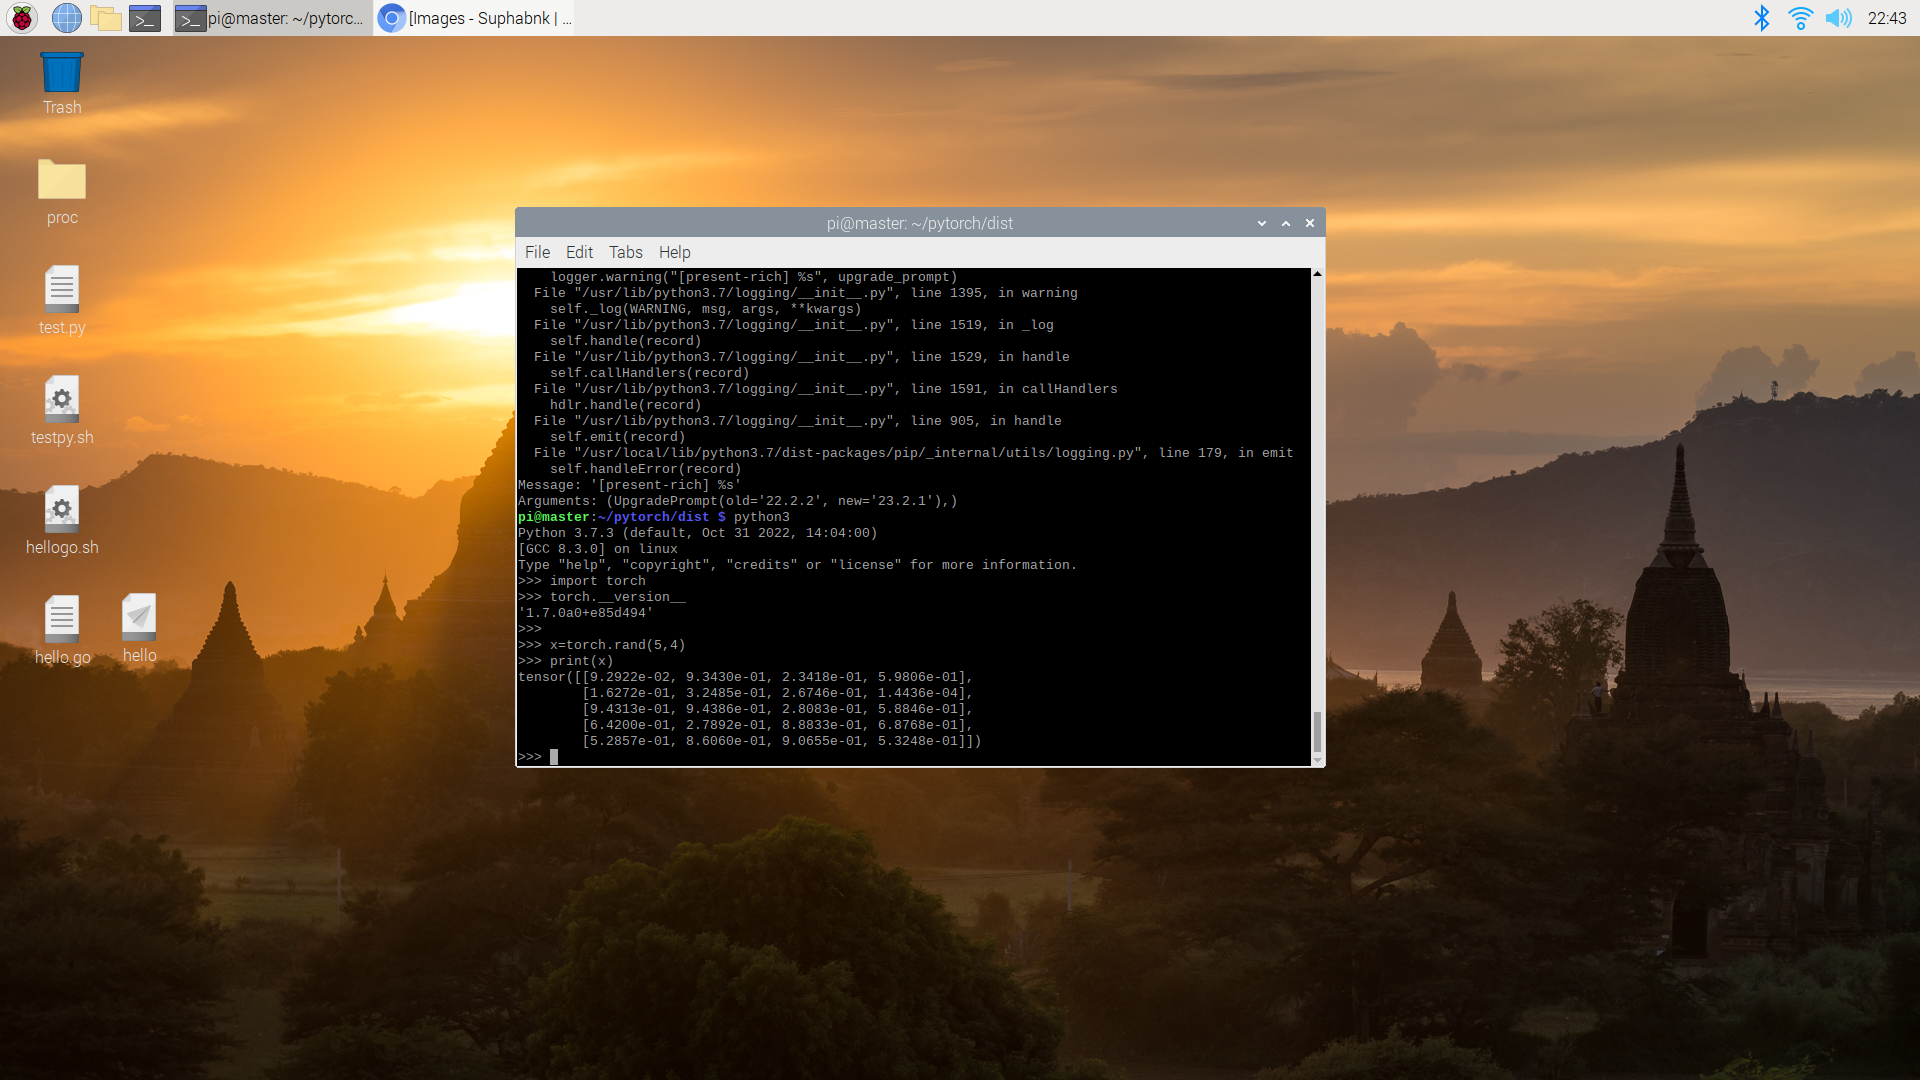
python3
import torch
torch.__version__
x=torch.rand(5,4)
print(x)